How to Build an Acoustic Drone Detector with ESP32 for a Few Thousand Rubles

Drone detection is usually associated with complex and expensive radars, radio frequency scanners, or optical systems with thermal cameras. All these solutions cost thousands of dollars and require serious infrastructure. Recently I came across an interesting project called Batear, whose authors decided to approach the problem from a different angle. They use a microphone and a tiny microcontroller costing a few dozen dollars.
The idea is to listen to the sky. Rotating drone propellers create a characteristic acoustic noise with stable harmonics. The project performs all sound processing directly on the microcontroller, without streaming audio to the cloud and without needing a constant internet connection.
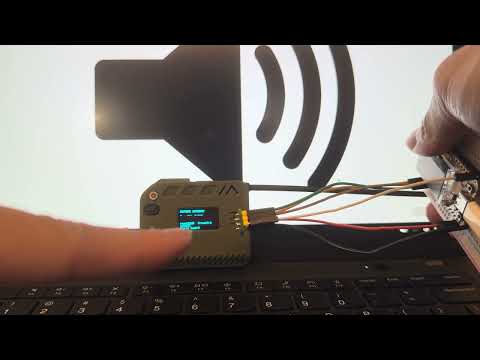
Under the hood
The project is written in C for ESP-IDF and optimized for ESP32-S3 chips. Sound from the I2S microphone (the documentation recommends the ICS-43434 MEMS sensor) goes directly into the chip's memory. There, the firmware performs a Fast Fourier Transform (FFT) and searches for specific frequency peaks characteristic of drone motors and propellers.
All computations happen locally. If the device detects propeller sound, it immediately sends an alert via one of two supported communication channels.
Two deployment options
The developers designed the firmware to cover two different mounting scenarios. The specific role is selected during build or flashing:
1. Wireless autonomous loop via LoRa
In this mode, sensors can be scattered around the site perimeter, mounted on poles or trees.
A sensor based on the Heltec WiFi LoRa 32 board listens to the airwaves and sends an encrypted 36-byte packet (AES-128-GCM) via LoRa radio at 915 or 868 MHz when an alarm is triggered.
A second identical board is placed in the house as a gateway. The gateway receives the radio signal, displays the status on the built-in OLED screen, and forwards the event via Wi-Fi through an MQTT broker.
[ Детектор с микрофоном ] ──(LoRa 868/915 МГц, AES-128)──> [ Шлюз Heltec ]
                                                                   │
                                                              WiFi / MQTT
                                                                   ▼
                                                            [ Home Assistant ]
2. Wired Ethernet detector with PoE
If the sensor is planned for permanent installation on a facade or roof, running a separate radio gateway makes no sense. The firmware supports boards like the LILYGO T-ETH-Lite S3, which has a W5500 Ethernet controller soldered on.
The device is powered via twisted pair through PoE, connects to the local network independently, and sends MQTT messages directly to the automation server.
[ Проводной детектор (LILYGO) ] ──(Ethernet / PoE)──> [ Home Assistant / MQTT ]
Smart home integration
The developers didn't bother inventing custom mobile apps and instead implemented native Home Assistant support via MQTT Auto-Discovery. As soon as the gateway or wired sensor connects to the broker, the device automatically appears on the control panel.
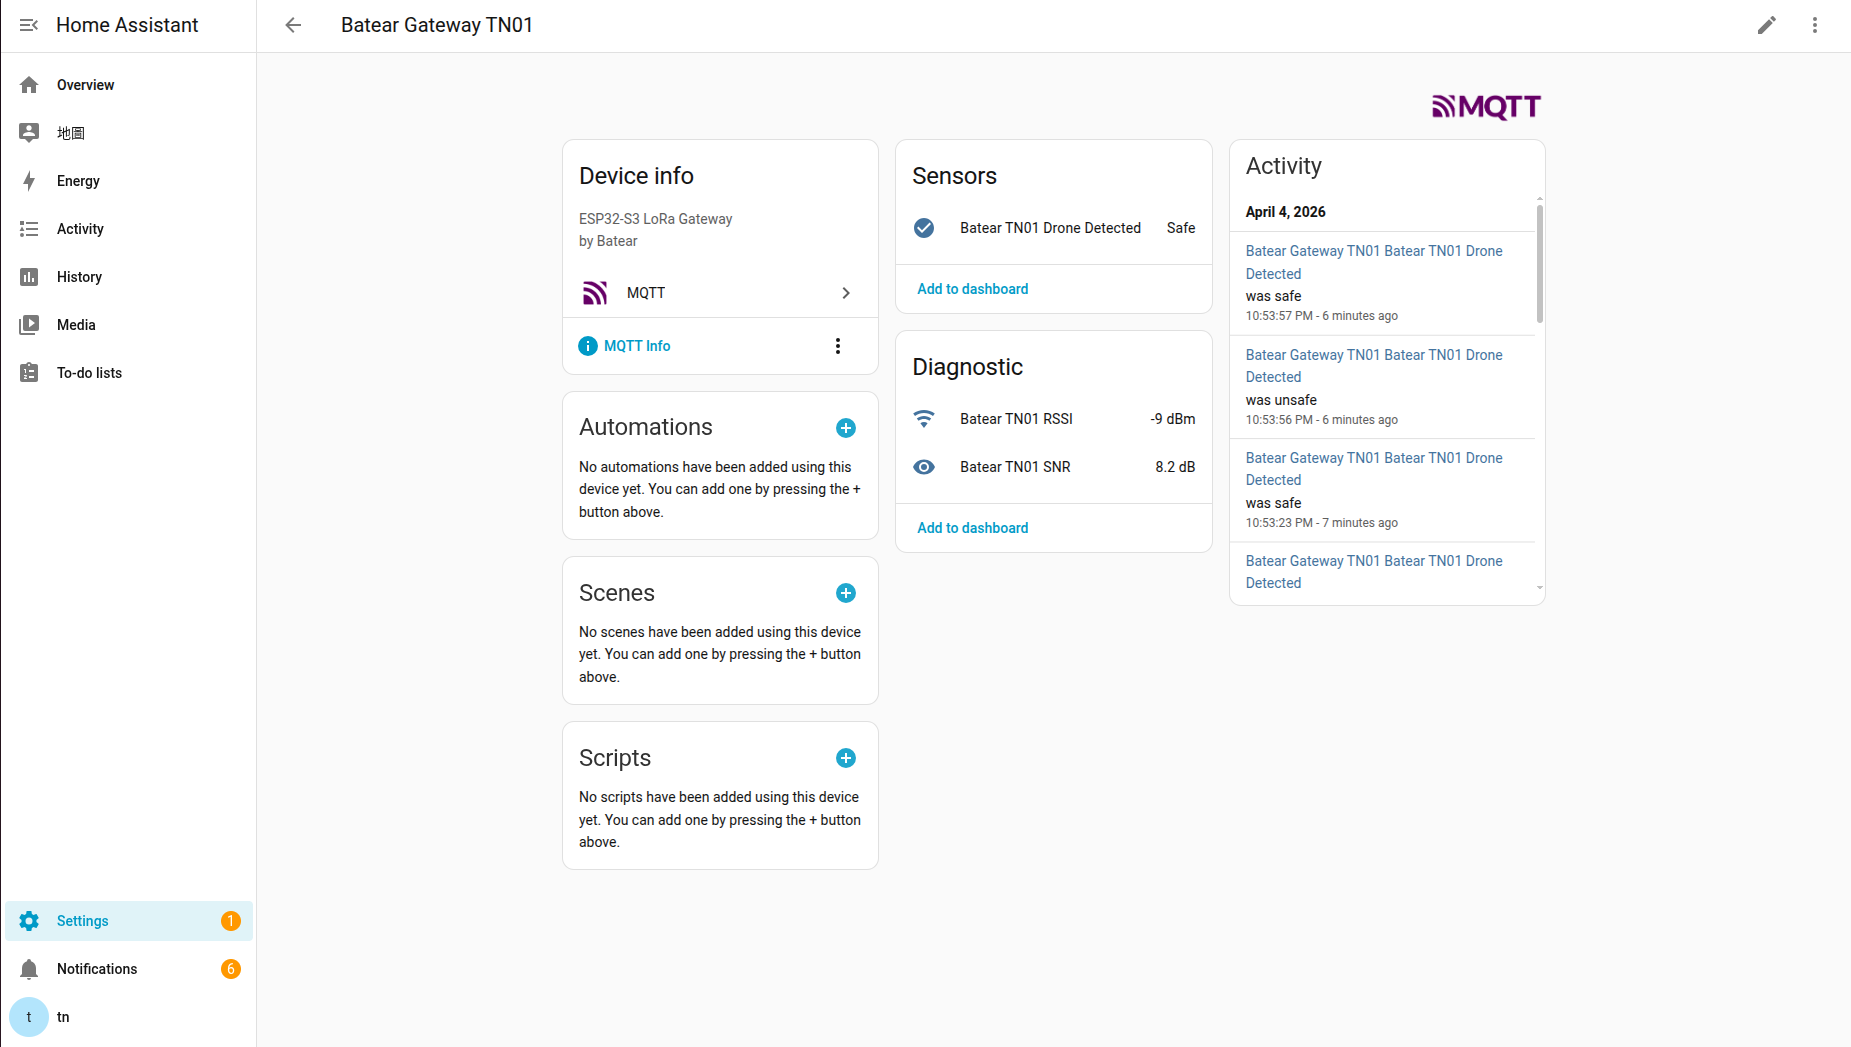
Through the smart home interface you can:
- Track alarm status in real time
- View radio channel diagnostics (RSSI and SNR levels)
- Configure automations: trigger sirens, turn on floodlights, or send Telegram notifications when suspicious noise is detected
How to flash the firmware
For those who don't want to set up an ESP-IDF toolchain locally, the project website has a web flasher based on WebSerial. Simply open the page in a Chromium-based browser, connect the board via USB-C cable, and press the install button.
If you prefer compiling from source, everything builds with standard tools:
git clone https://github.com/batear-io/batear.git
cd batear

# Сборка прошивки для детектора
idf.py -B build_detector \
  -DSDKCONFIG=build_detector/sdkconfig \
  -DSDKCONFIG_DEFAULTS="sdkconfig.defaults;sdkconfig.detector" \
  set-target esp32s3

idf.py -B build_detector -DSDKCONFIG=build_detector/sdkconfig build

# Прошивка в устройство
idf.py -B build_detector -DSDKCONFIG=build_detector/sdkconfig -p /dev/ttyUSB0 flash monitor
To build the gateway or wired variant, simply specify the corresponding configuration file (sdkconfig.gateway or sdkconfig.wired_detector).
Thoughts and limitations
The project is a technically interesting example of how digital signal processing can squeeze the maximum out of an inexpensive microcontroller.
Of course, a purely acoustic method has physical limitations. Strong gusty winds, a neighbor's lawnmower noise, or a moped passing by nearby can interfere with detection or cause false alarms. For accurate operation, you'll need to calibrate sensitivity thresholds through the config. Nevertheless, as a foundation for DIY experiments combined with Home Assistant, this is an excellent, fully open-source project.
Related projects