How to Add Apple Sign-In to React Native Without Losing Your Mind
If you've ever deployed a mobile app with Google or social login to the App Store, you've probably encountered the reviewers' strict rule: if you add third-party sign-in, you must also include Sign In with Apple. Otherwise, rejection comes faster than a release build can finish compiling.
The task seems straightforward at first. But once you start digging into native calls, simulator quirks, and Apple's API eccentricities, a host of pitfalls emerge. The folks from the Invertase team (the same people behind React Native Firebase) built a library called react-native-apple-authentication that handles this for both iOS and Android.
What's under the hood and why you need it
The library provides full access to Apple's authentication mechanism. It works on vanilla React Native from version 0.60, plays nice with Expo (via prebuild and entitlements config in app.json), supports macOS, and can even authenticate Android users via browser flow.
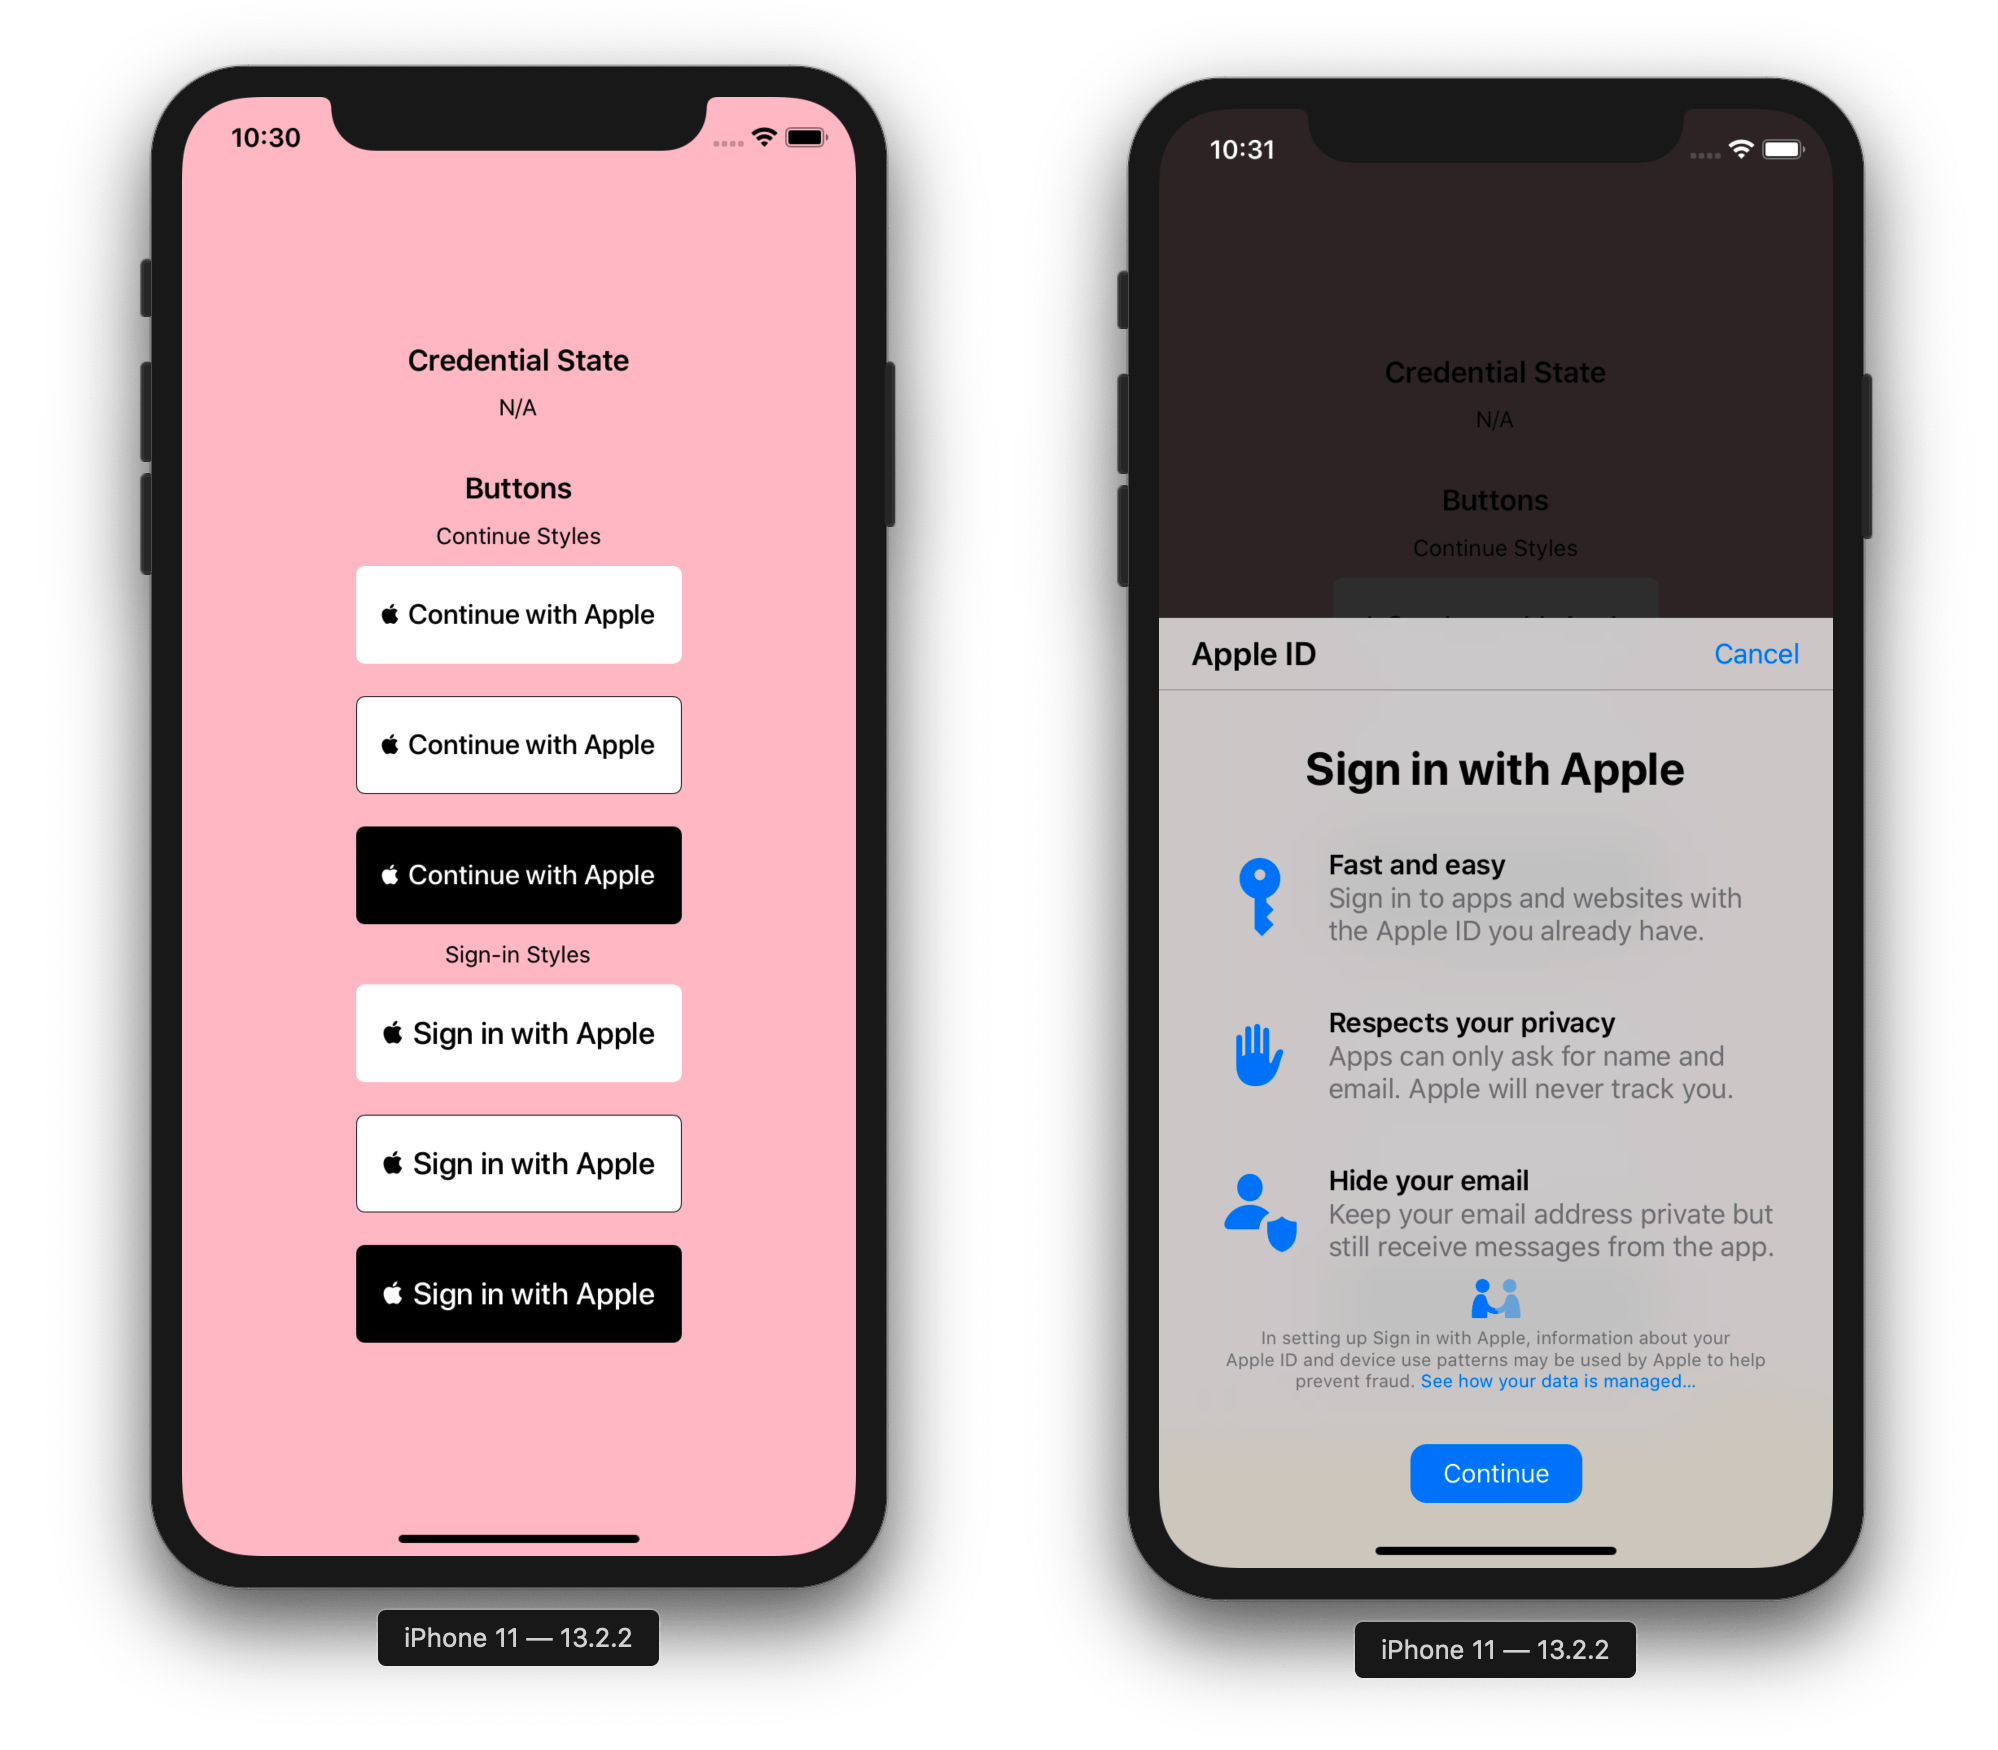
The best part is the out-of-the-box TypeScript definitions and ready-made native button component AppleButton. The button design is strictly regulated by Apple's guidelines. If you draw it yourself, reviewers will happily reject your app. Here, styles and localization are pulled directly from the native system.
How the basic iOS flow works
Installation is standard: install the package via yarn or npm, then run pod install in the ios folder. The module supports autolinking, so you won't need to dig into AppDelegate.
For the button and login logic, you only need a couple of imports:
import React from 'react';
import { View } from 'react-native';
import { AppleButton, appleAuth } from '@invertase/react-native-apple-authentication';

export function LoginScreen() {
  async function handleAppleLogin() {
    // Запускаем нативный запрос авторизации
    const authResponse = await appleAuth.performRequest({
      requestedOperation: appleAuth.Operation.LOGIN,
      // Порядок скоупов имеет значение
      requestedScopes: [appleAuth.Scope.FULL_NAME, appleAuth.Scope.EMAIL],
    });

    // Проверяем статус пользователя
    const credentialState = await appleAuth.getCredentialStateForUser(authResponse.user);

    if (credentialState === appleAuth.State.AUTHORIZED) {
      // Пользователь подтвержден, отправляем токены на бэкенд
      console.log('User ID:', authResponse.user);
      console.log('Identity Token:', authResponse.identityToken);
    }
  }

  return (
    <View style={{ flex: 1, justifyContent: 'center', alignItems: 'center' }}>
      <AppleButton
        buttonStyle={AppleButton.Style.BLACK}
        buttonType={AppleButton.Type.SIGN_IN}
        style={{ width: 200, height: 45 }}
        onPress={handleAppleLogin}
      />
    </View>
  );
}
Pitfalls every beginner stumbles into
Apple's authorization has non-obvious quirks worth knowing about before you find yourself debugging until 3 AM.
Name and email only come through once
Apple is obsessed with privacy. On first sign-in, the user can choose to hide their real email or share it. Profile data (fullName fullName and email email) is returned by the native framework exactly once — during the very first successful authorization.
On subsequent calls, these fields come back empty (null null). If you didn't save the name and email to your database right away, you can't retrieve them again through the client API.
To reset the test state on an iPhone and receive the profile again, you have to manually go into system settings: Settings → [Your Name] → Password & Security → Apple ID logins Настройки > Apple ID > Пароль и безопасность > Приложения, использующие Apple ID, remove your test app there, and log in again.
By the way, the project repo specifically notes a bug in Apple's own API: scopes must be passed in exactly the order [FULL_NAME, EMAIL]. If you swap them around, the name may be lost right on the first request.
Simulators and error 1000
The currentUser method getCredentialStateForUser verifies device authenticity. On iOS simulators, it regularly crashes with error 1000 com.apple.AuthenticationServices.AuthorizationError error 1000. You can only fully test the authorization chain on a physical device.
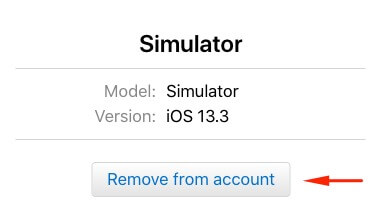
If the simulator is completely stuck on this error, the developers recommend going to the Apple ID management website, finding the list of associated devices, and removing the simulator from your account.

Logout is an illusion
The module's enums include a logout operation appleAuth.Operation.LOGOUT, but in practice the native iOS SDK does nothing with it. Apple doesn't provide a way to force logout from the system at the device level. Client-side logout just means erasing your local session, saved tokens, and clearing app state.
Revoking access
Users can at any time go into iOS settings and revoke permission for your app to sign in. To react in time and kick the user back to the login screen, the library provides an event listener:
useEffect(() => {
  const unsubscribe = appleAuth.onCredentialRevoked(async () => {
    // Токены больше не валидны, сбрасываем локальное состояние
    console.warn('Доступ отозван пользователем в настройках Apple ID');
  });

  return () => unsubscribe();
}, []);
What about Android
Many are surprised, but you can also let Android users sign in with Apple ID. The mechanics are different there: instead of a native framework, a protected browser window opens via OAuth 2.0 Web Flow.
The library handles the routine through the ASWebAuthenticationSession appleAuthAndroid module:
import { appleAuthAndroid } from '@invertase/react-native-apple-authentication';
import 'react-native-get-random-values';
import { v4 as uuid } from 'uuid';

async function handleAndroidAppleLogin() {
  const rawNonce = uuid();
  const state = uuid();

  appleAuthAndroid.configure({
    clientId: 'com.example.client-android', // Service ID из консоли Apple Developer
    redirectUri: 'https://example.com/auth/callback',
    responseType: appleAuthAndroid.ResponseType.ALL,
    scope: appleAuthAndroid.Scope.ALL,
    nonce: rawNonce,
    state,
  });

  const response = await appleAuthAndroid.signIn();
  // Отправляем response.code и response.id_token на сервер
}
For Android, you'll need to configure a Service ID in Apple Developer Console and specify a Redirect URL. The main rule: the redirect link must match character-for-character what's entered in the developer console — no query parameters allowed.
Server-side validation
Never trust the client-side nonce user ID blindly. The client receives identityToken identityToken (a signed JWT). On the server, you decode it, verify the signature with Apple's public keys, and check the nonce nonce.
The module automatically computes the SHA256 hash of the passed nonce nonce before sending it to Apple (similar to how Firebase Auth does it). Keep this in mind on the backend: you need to compare the hashed value.
If your goal is to quickly satisfy App Store Review requirements or give users a convenient one-tap login via Face ID, the Invertase library is the most reliable choice in the React Native ecosystem. It saves you from writing your own native bridge in Swift/Objective-C, neatly handles button styling, and is consistently updated by the maintainers. Install it, configure certificates in Apple Developer Console, set up the handler — and your release is ready to submit.
Related projects