React for the Terminal in Rust with Flexbox and Hooks
If you've ever written a console interface in Rust, you've probably used Ratatui. It's a solid library that powers dozens of great utilities. But once a project goes beyond a couple of buttons, the familiar grind begins: you have to manually split the screen into rectangles using Layout, calculate percentages and margins, and thread events through massive match constructs. In web development, we've long been accustomed to the component approach and flexbox, but in the terminal we're still often writing as if it's 1998.
I recently discovered the iocraft crate, whose author solved this problem radically. They brought the experience of React, SwiftUI, and Ink directly into the world of systems programming in Rust.
A Familiar Component Model
The library is built around the element! macro. It constructs an element tree using syntax that strongly resembles JSX or declarative Swift. No manual coordinate calculations. Layout is handled by the taffy engine, which faithfully implements the flexbox specification for Rust.
Here's what a classic Hello World looks like:
use iocraft::prelude::*;

fn main() {
    element! {
        View(
            border_style: BorderStyle::Round,
            border_color: Color::Blue,
        ) {
            Text(content: "Hello, world!")
        }
    }
    .print();
}
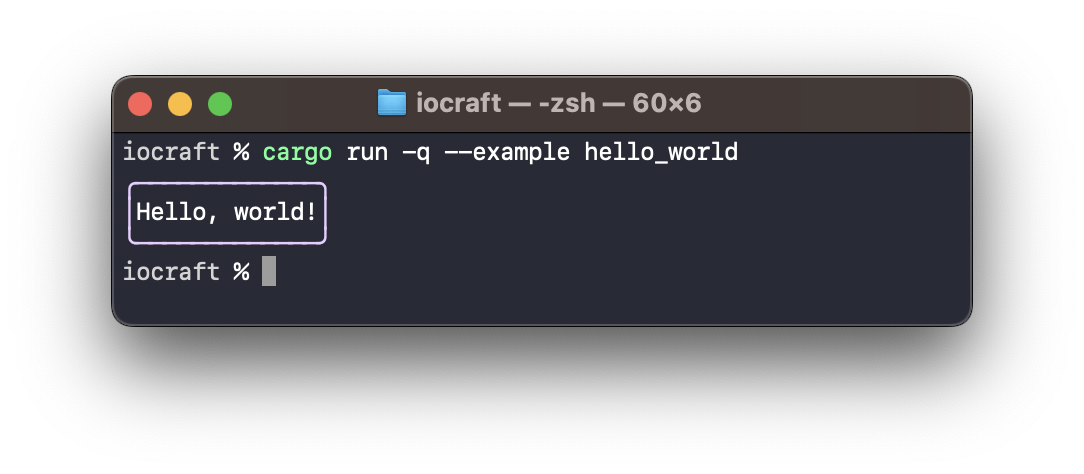
We simply wrap Text in a View container, apply a rounded blue border, and call .print(). The result goes to standard output without needing to capture the terminal in fullscreen mode. This is handy if you need neatly formatted console command output or logs rather than an interactive dashboard.
Hooks and State Inside the Terminal
The resemblance to frontend development doesn't end with static layout. For dynamic interfaces, the author added the #[component] macro and familiar lifecycle hooks.
In the code below, the Counter component holds its own local state via use_state and starts a background async timer via use_future:
use iocraft::prelude::*;
use std::time::Duration;

#[component]
fn Counter(mut hooks: Hooks) -> impl Into<AnyElement<'static>> {
    let mut count = hooks.use_state(|| 0);

    hooks.use_future(async move {
        loop {
            smol::Timer::after(Duration::from_millis(100)).await;
            count += 1;
        }
    });

    element! {
        Text(color: Color::Blue, content: format!("counter: {}", count))
    }
}

fn main() {
    smol::block_on(element!(Counter).render_loop()).unwrap();
}
When the count value changes, iocraft triggers a redraw of the affected part of the screen. The engine optimizes prop passing: context and parameters are passed by reference, so there are no unnecessary memory allocations or cloning of heavy structures here.
What the Library Can Do in Practice
The built-in primitives are enough to build interfaces of any complexity. The repository examples contain ready-made recipes for the most common tasks:
- Fullscreen applications with text input and focus handling
- Multi-column adaptive tables
- Interactive forms with validation
- Calculators and overlays with floating modal windows
Let's see what complex element layouts look like in practice:
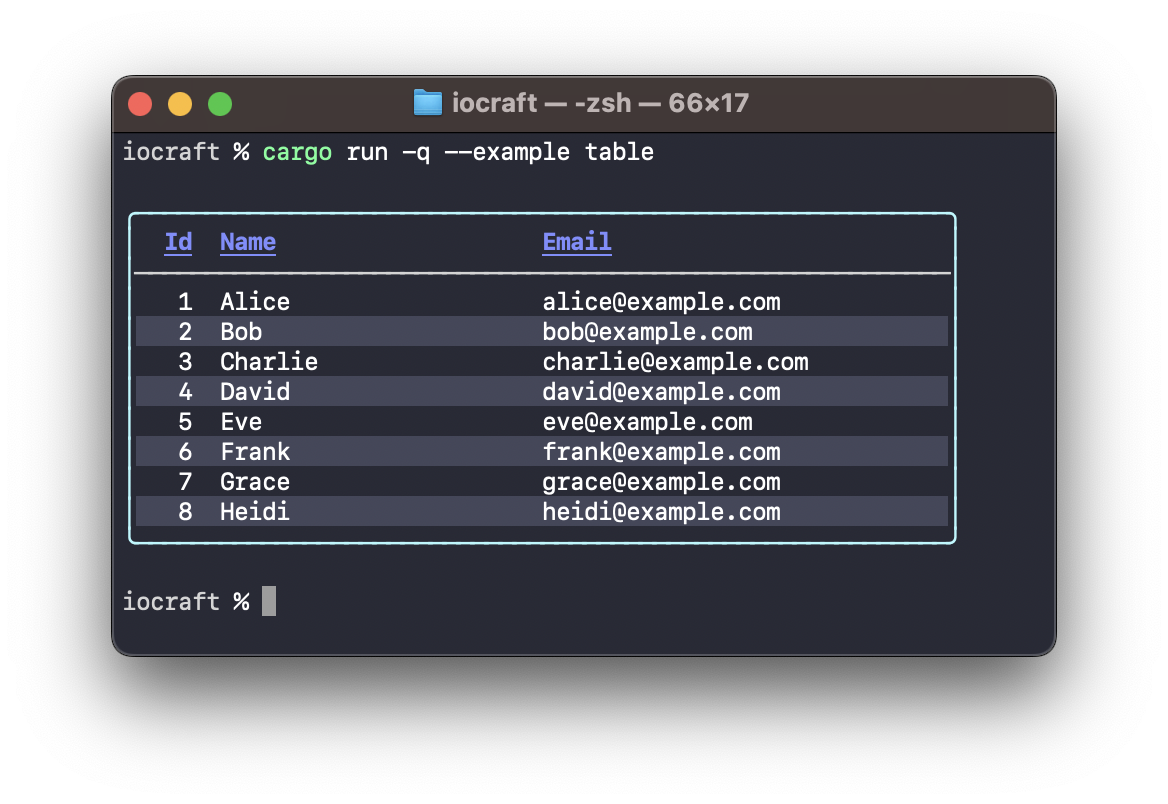
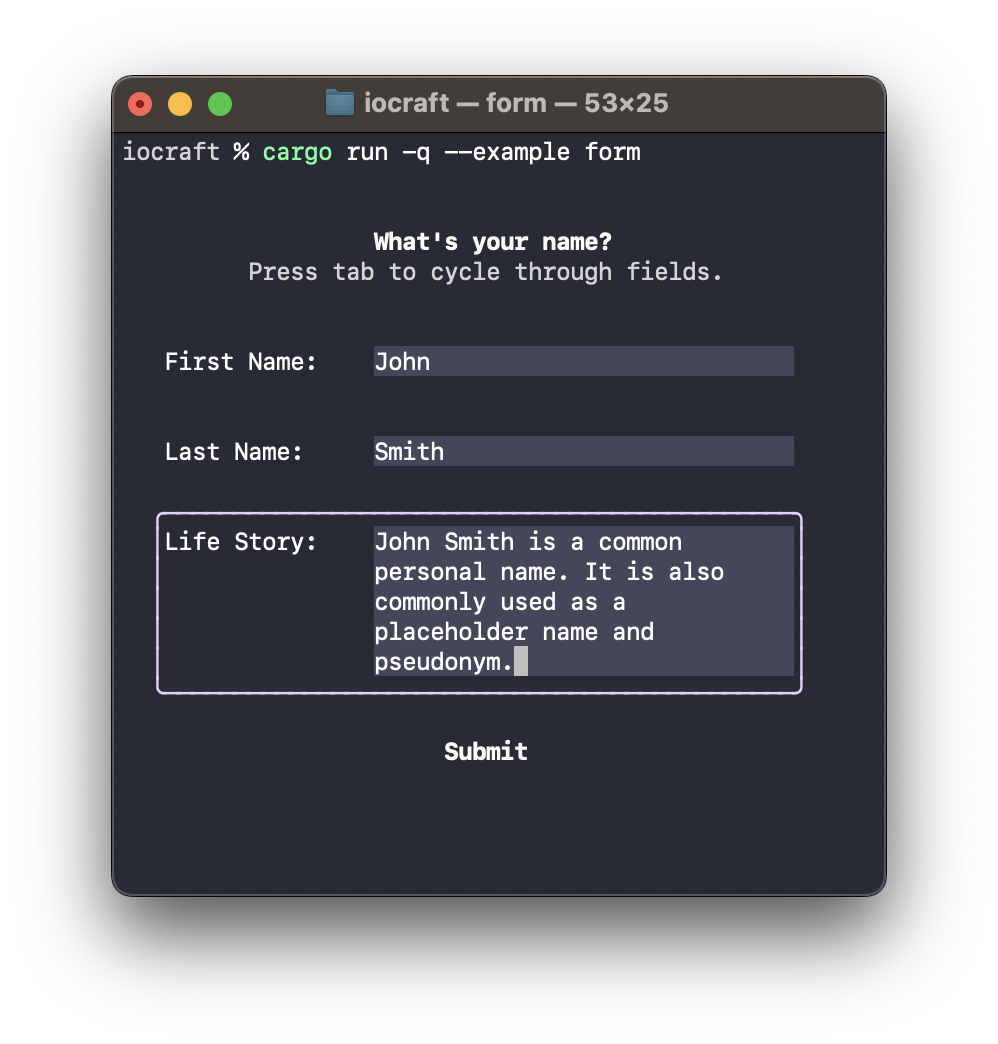
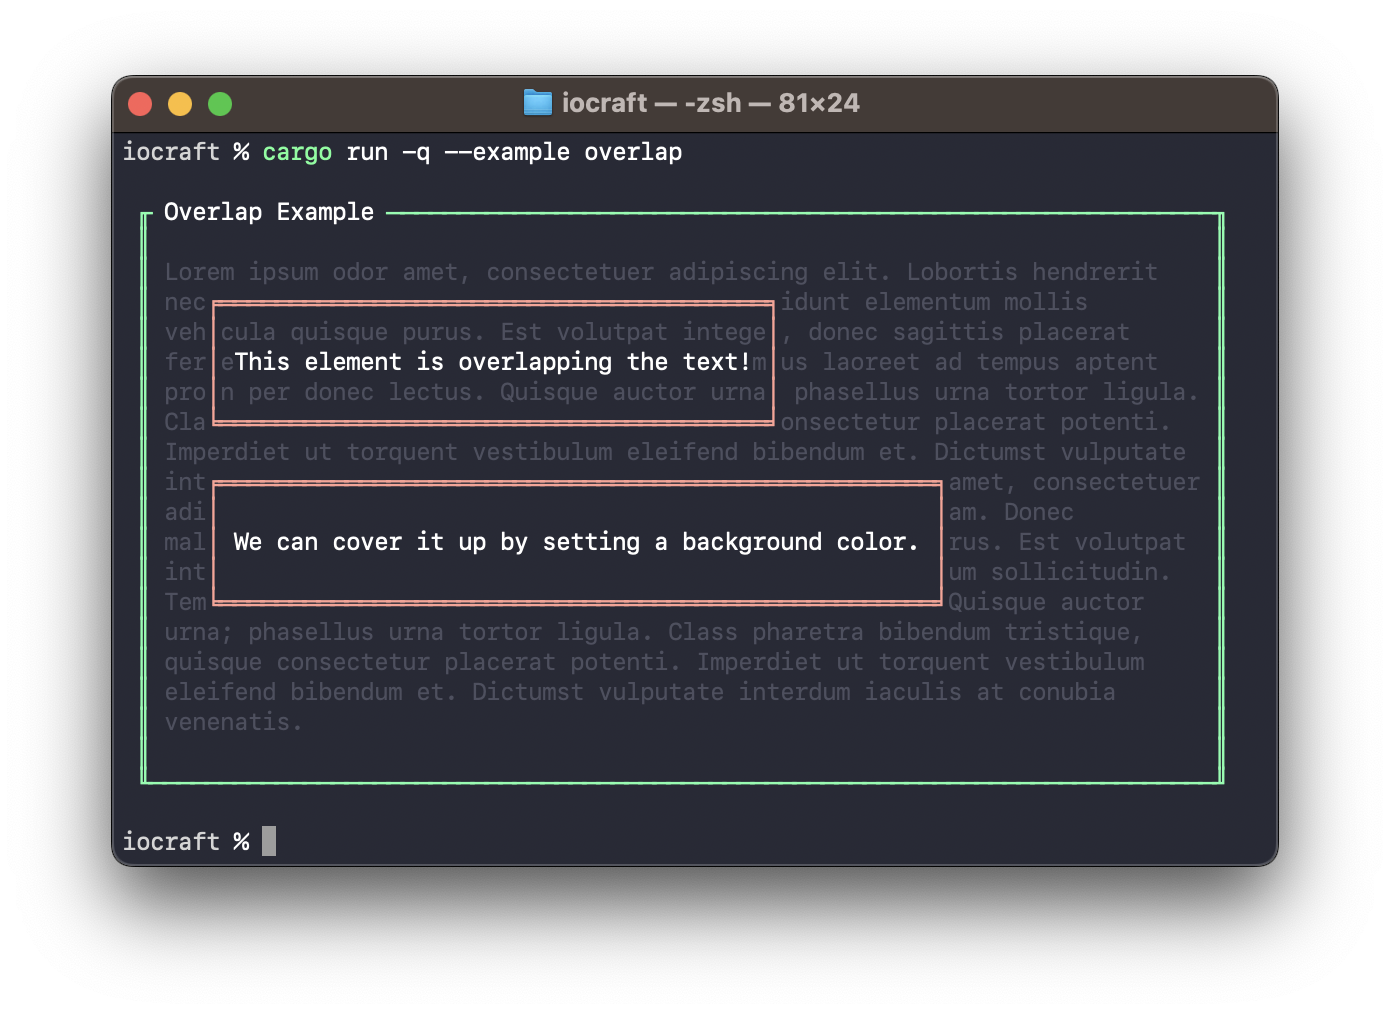
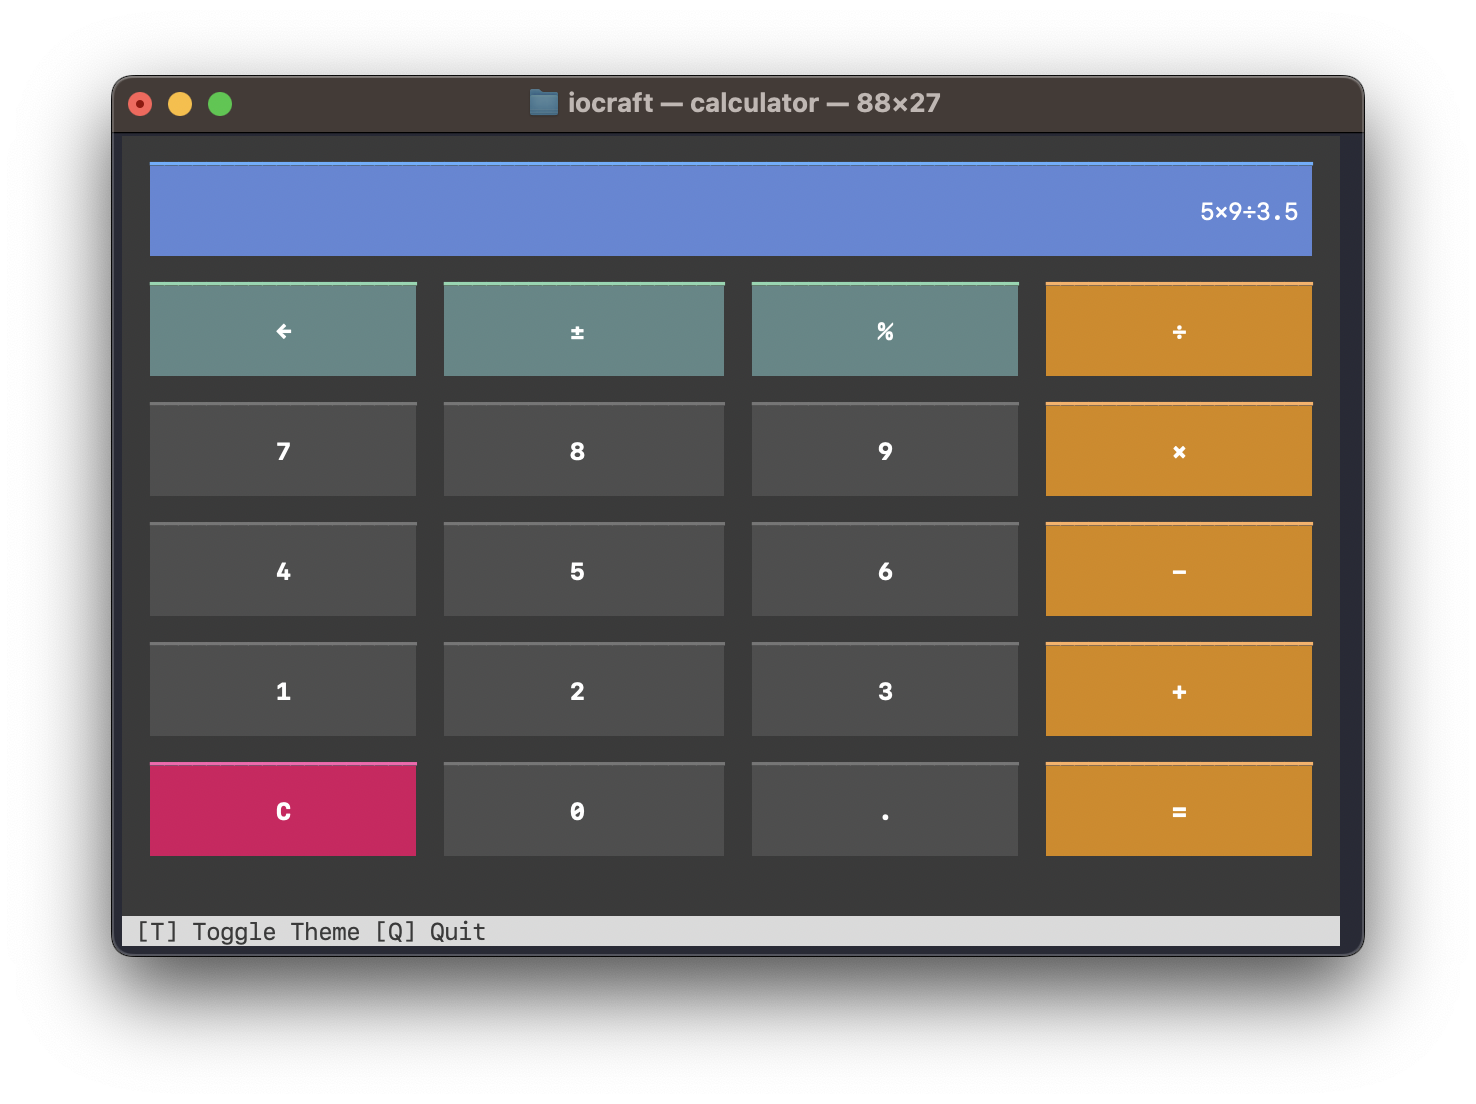
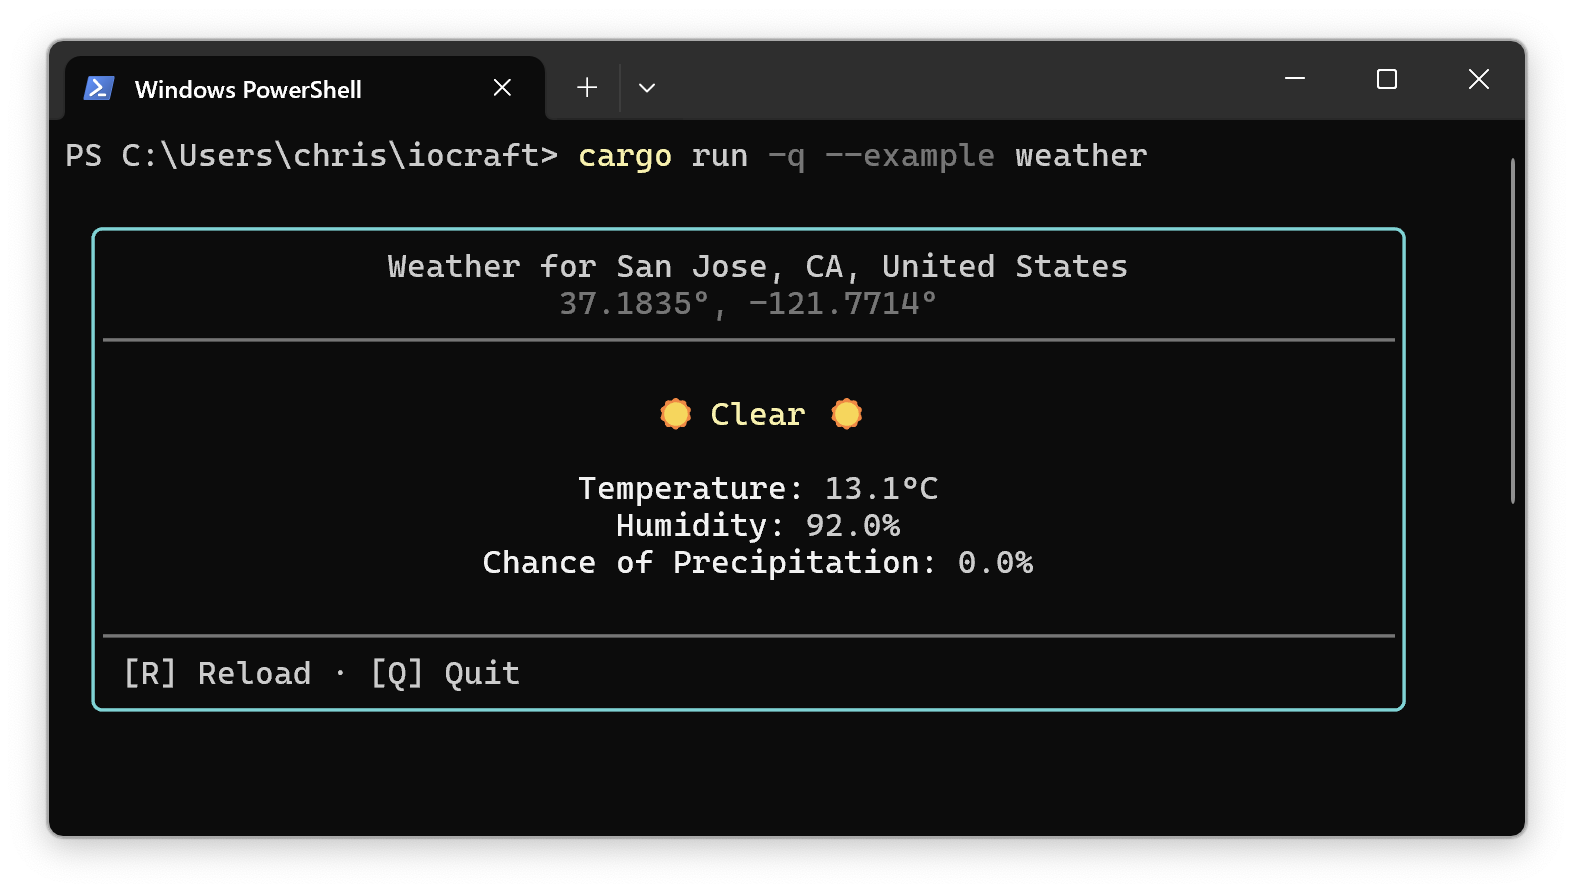
Styling is cross-platform. Applications render equally correctly in standard Linux/macOS terminals and in Windows PowerShell.
Is It Worth Switching from Ratatui
If you already have a complex terminal client written in Ratatui, there's not much point in rewriting it from scratch. Ratatui is more mature, with a large community around it and dozens of third-party widgets written for it.
But if you're starting a new CLI utility, writing an internal tool for your team, or just tired of manually counting terminal rows and columns, iocraft saves a lot of time. Declarative syntax makes the code more compact, and flexbox eliminates the headache of resizing windows.
The project is distributed under dual MIT / Apache-2.0 licensing. The documentation on docs.rs is detailed enough, and the example source code in the repository clearly shows how to build your own components.
Related projects