How to Turn an Old Android Phone into a Pocket Linux Server or Desktop Without Root Access
Almost everyone has an old smartphone gathering dust in a drawer. The screen is intact, the battery still holds a couple of hours, and the processor inside has eight cores—but throwing it away feels wasteful. The typical fate of such a device is to lie idle for years until the battery finally swells up.
Many have tried installing Linux distributions on Android through VNC, but usually this experience ends in disappointment: wild interface lag, no proper 3D acceleration, and endless hassle with root permissions. Recently I came across the linux-android repository by developer mayukh4. The project solves this problem elegantly. Using a couple of scripts based on Termux and Termux-X11, the phone transforms into a full-fledged workstation with a graphical desktop or a round-the-clock smart home hub. No root required.
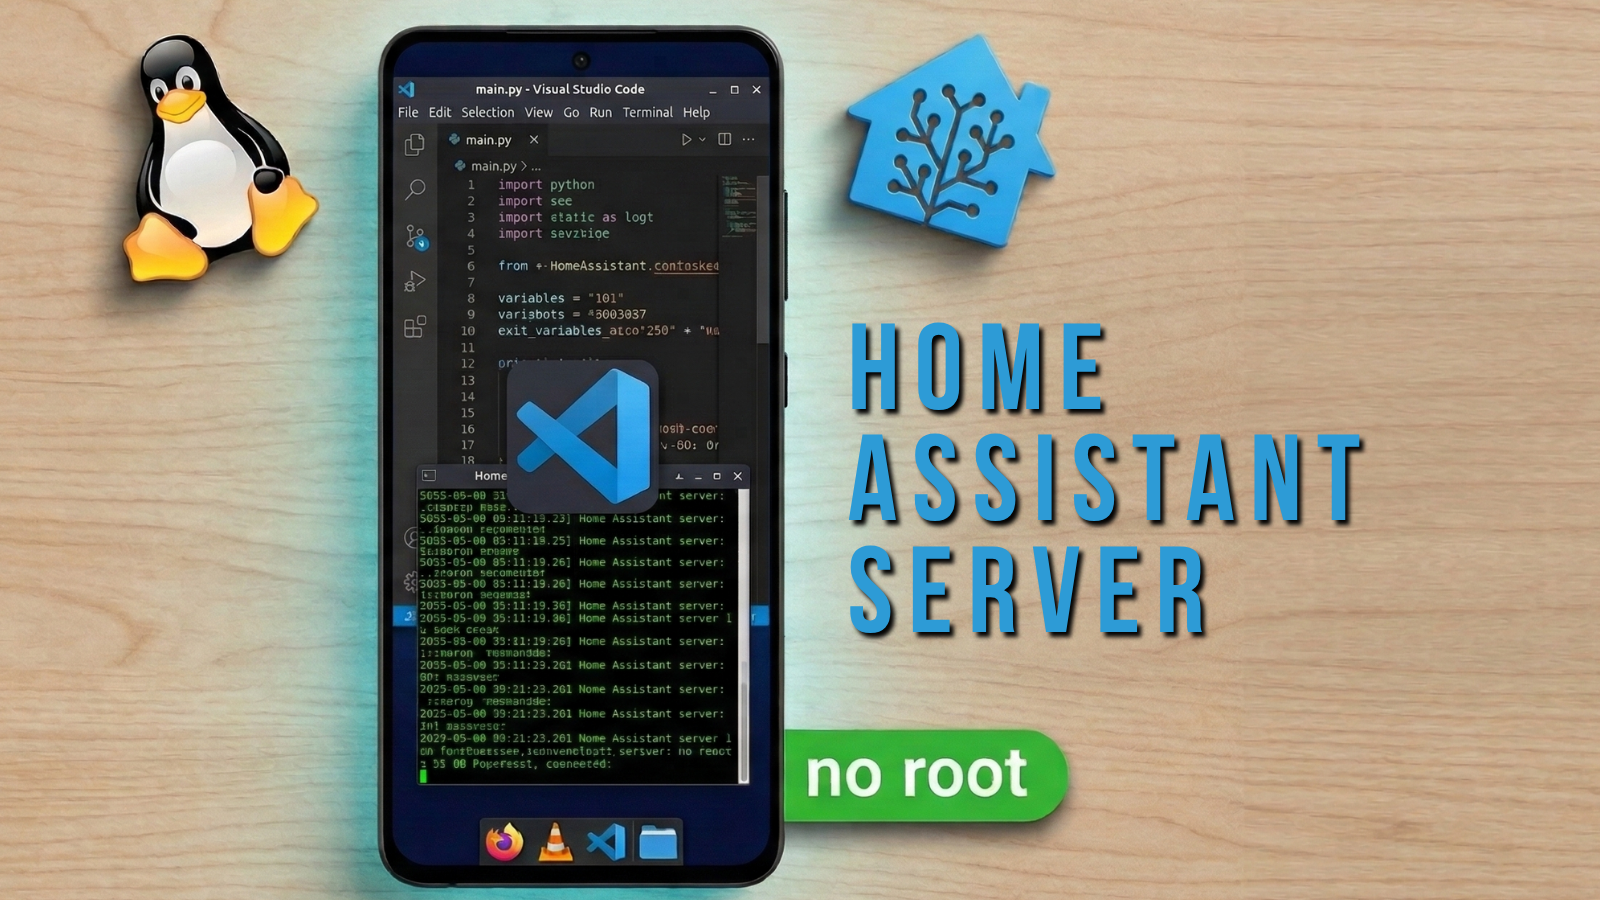
Two Scenarios in One Repository
The author divided the project into two independent usage branches, which can be run simultaneously on the same device if desired.
The first path is a full graphical desktop. The script deploys an environment of your choice (XFCE4, LXQt, MATE, or KDE Plasma), pipes audio through PulseAudio, and configures hardware graphics acceleration. Out of the box, you get Firefox browser, VLC player, Python 3 with pip package manager, OpenSSH, and even Wine for running x86 Windows programs through Box64 and Hangover emulation.
The second path is a home automation server. The script spins up a lightweight Ubuntu container via proot-distro and compiles Home Assistant Core inside. The result is a local smart home server that controls Wi-Fi lamps and outlets, consuming mere watts from the phone charger.
How the Graphics Stack and 3D Acceleration Work
The main problem with old guides for running Linux on phones was the use of slow VNC clients. Here, the picture is output directly through Termux-X11. This is a separate application that serves as a fast X11 display for the Termux environment.
The author handled graphics properly. The script automatically detects the GPU model through Android system properties, ignoring the smartphone brand (since Samsung lines can have both Snapdragon and Exynos chips).
If the device has a Qualcomm Snapdragon chip with Adreno graphics, the system pulls in the open-source Turnip Vulkan driver paired with Zink (OpenGL translation over Vulkan). This delivers near-native 3D performance and smooth interface. If the smartphone runs on a processor with Mali or PowerVR graphics, the environment switches to the SwRast software renderer. For Mali, the author reasonably recommends choosing lightweight shells like LXQt or XFCE, since heavy KDE Plasma on a software renderer will noticeably lag.
All graphics parameters are saved in the configuration file ~/.config/linux-gpu.sh. If desired, you can manually edit it and tweak Mesa flags—for example, force a specific OpenGL version or enable debug mode.
Remote Work via SSH
Staring at a five-inch smartphone screen when working with a terminal or code isn't always convenient. The developer anticipated this and included an OpenSSH server in the base package.
Since Termux has no root privileges, the SSH server listens on non-standard port 8022. You can connect to the smartphone from a laptop or PC on the local network with a single command:
ssh [email protected] -p 8022
The Termux username typically follows the pattern u0_a123 (you can find it with the whoami command). Files can be conveniently transferred via standard scp or any familiar SFTP client. Just add the host to ~/.ssh/config on your main computer, configure key-based login, and the phone becomes a silent remote sandbox for testing and code builds.
Nuances with Home Assistant
Turning a smartphone into a smart home server looks tempting, but it's important to understand the technical limitations of Android that the author honestly warns about in the documentation.
Since Home Assistant Core runs inside a proot container without superuser privileges:
- mDNS and automatic device discovery on the local network don't work. Starting with Android 10, the system blocks access to
/proc/net/dev, so smart outlets and bulbs (for example, TP-Link Kasa) must be added manually by their IP addresses. - No access to the phone's Bluetooth stack.
- You can't connect an external USB Zigbee or Z-Wave stick without a custom kernel and root access.
- This is specifically Home Assistant Core, not full Home Assistant OS. Add-ons from the community add-ons catalog that require Docker can't be launched here, but built-in integrations work fine.
For cloud integrations like Tuya or Smart Life, there are no such restrictions—they connect via the developer API and are managed without issues.
Installation and Launch
For installation, you'll need Termux itself (get strictly the build from F-Droid, since the Google Play version has been abandoned for a long time) and Termux-X11 from the GitHub repository.
Before running the main script, you must update the package database and prevent the CPU from entering sleep mode:
termux-wake-lock
pkg upgrade -y
The termux-wake-lock command prevents the operating system from killing the build process when the screen goes dark. After that, you can clone and run the desktop script:
curl -O https://raw.githubusercontent.com/mayukh4/linux-android/main/termux-linux-setup.sh
chmod +x termux-linux-setup.sh
bash termux-linux-setup.sh
During the process, the script will ask which graphical shell to install and whether you need the Wine compatibility layer. Installation takes 10 to 30 minutes.
An interesting implementation detail: the script has a custom safe_install_pkg function. It parses package metadata via apt-cache and checks the Conflicts block in advance. If the system already has a conflicting package (for example, different builds of Vulkan loaders), the script carefully skips the problematic component instead of crashing with an error.
The desktop starts with the command:
bash ~/start-linux.sh
After that, just open the Termux-X11 app, where the desktop will appear.
If your goal is to set up Home Assistant, run the separate script setup-homeassistant.sh. It creates an Ubuntu environment, installs Python dependencies, and builds the required modules. The server's web interface opens in any browser on the local network at address http://<ip-телефона>:8123 after startup.
Who Will Find This Project Useful
Mayukh4's scripts eliminate the need to assemble a working environment from scattered forum instructions. All common pitfalls, including dependency conflicts and processes being killed by Android's background manager, are already handled here.
The project is perfect for those who want to:
- experiment with Linux and the command line without buying a Raspberry Pi or setting up virtual machines;
- get a pocket server for background Python tasks and experiments;
- run an inexpensive home automation hub on old hardware;
- build a compact mobile workstation by connecting a Bluetooth keyboard and mouse to the smartphone.
If you have an unused smartphone with a 64-bit processor and 3-4 GB of RAM, this repository gives it an excellent chance at a second life.
Related projects