How to Run a Local AI Assistant with Memory and Messenger Integration via QwenPaw
Yesterday I stumbled upon the QwenPaw project by the AgentScope team. It seems the authors decided to combine in one tool everything you usually have to piece together from a dozen different libraries: local neural network execution, Telegram and Discord integration, long-term context management, and even a web IDE for working with code.
Why would you need such an all-in-one solution? If you've ever tried building your own bot for routine tasks, you've probably run into memory and security issues. Regular agents quickly forget the beginning of a conversation when the context window fills up, or they require full permissions to execute bash scripts directly in your operating system. QwenPaw addresses both of these problems at a fundamental level.
How QwenPaw is Structured and What's Under the Hood
The project is written in Python and distributed under the Apache 2.0 license. You can run it via pip, deploy in Docker, or grab a ready-made desktop application build on Tauri.
Here's what's inside:
- Three-tier ReMe memory. It keeps the working context active while indexing old messages on the fly. Unlike standard summarization, the dialogue isn't lost when the context window resets. When needed, the system retrieves old facts selectively.
- Sandbox isolation. Command execution tools run in an isolated environment using Seatbelt on macOS, Bubblewrap on Linux, or AppContainer on Windows. The Tool Guard analyzer checks commands for injection attempts and restriction bypasses before they actually execute.
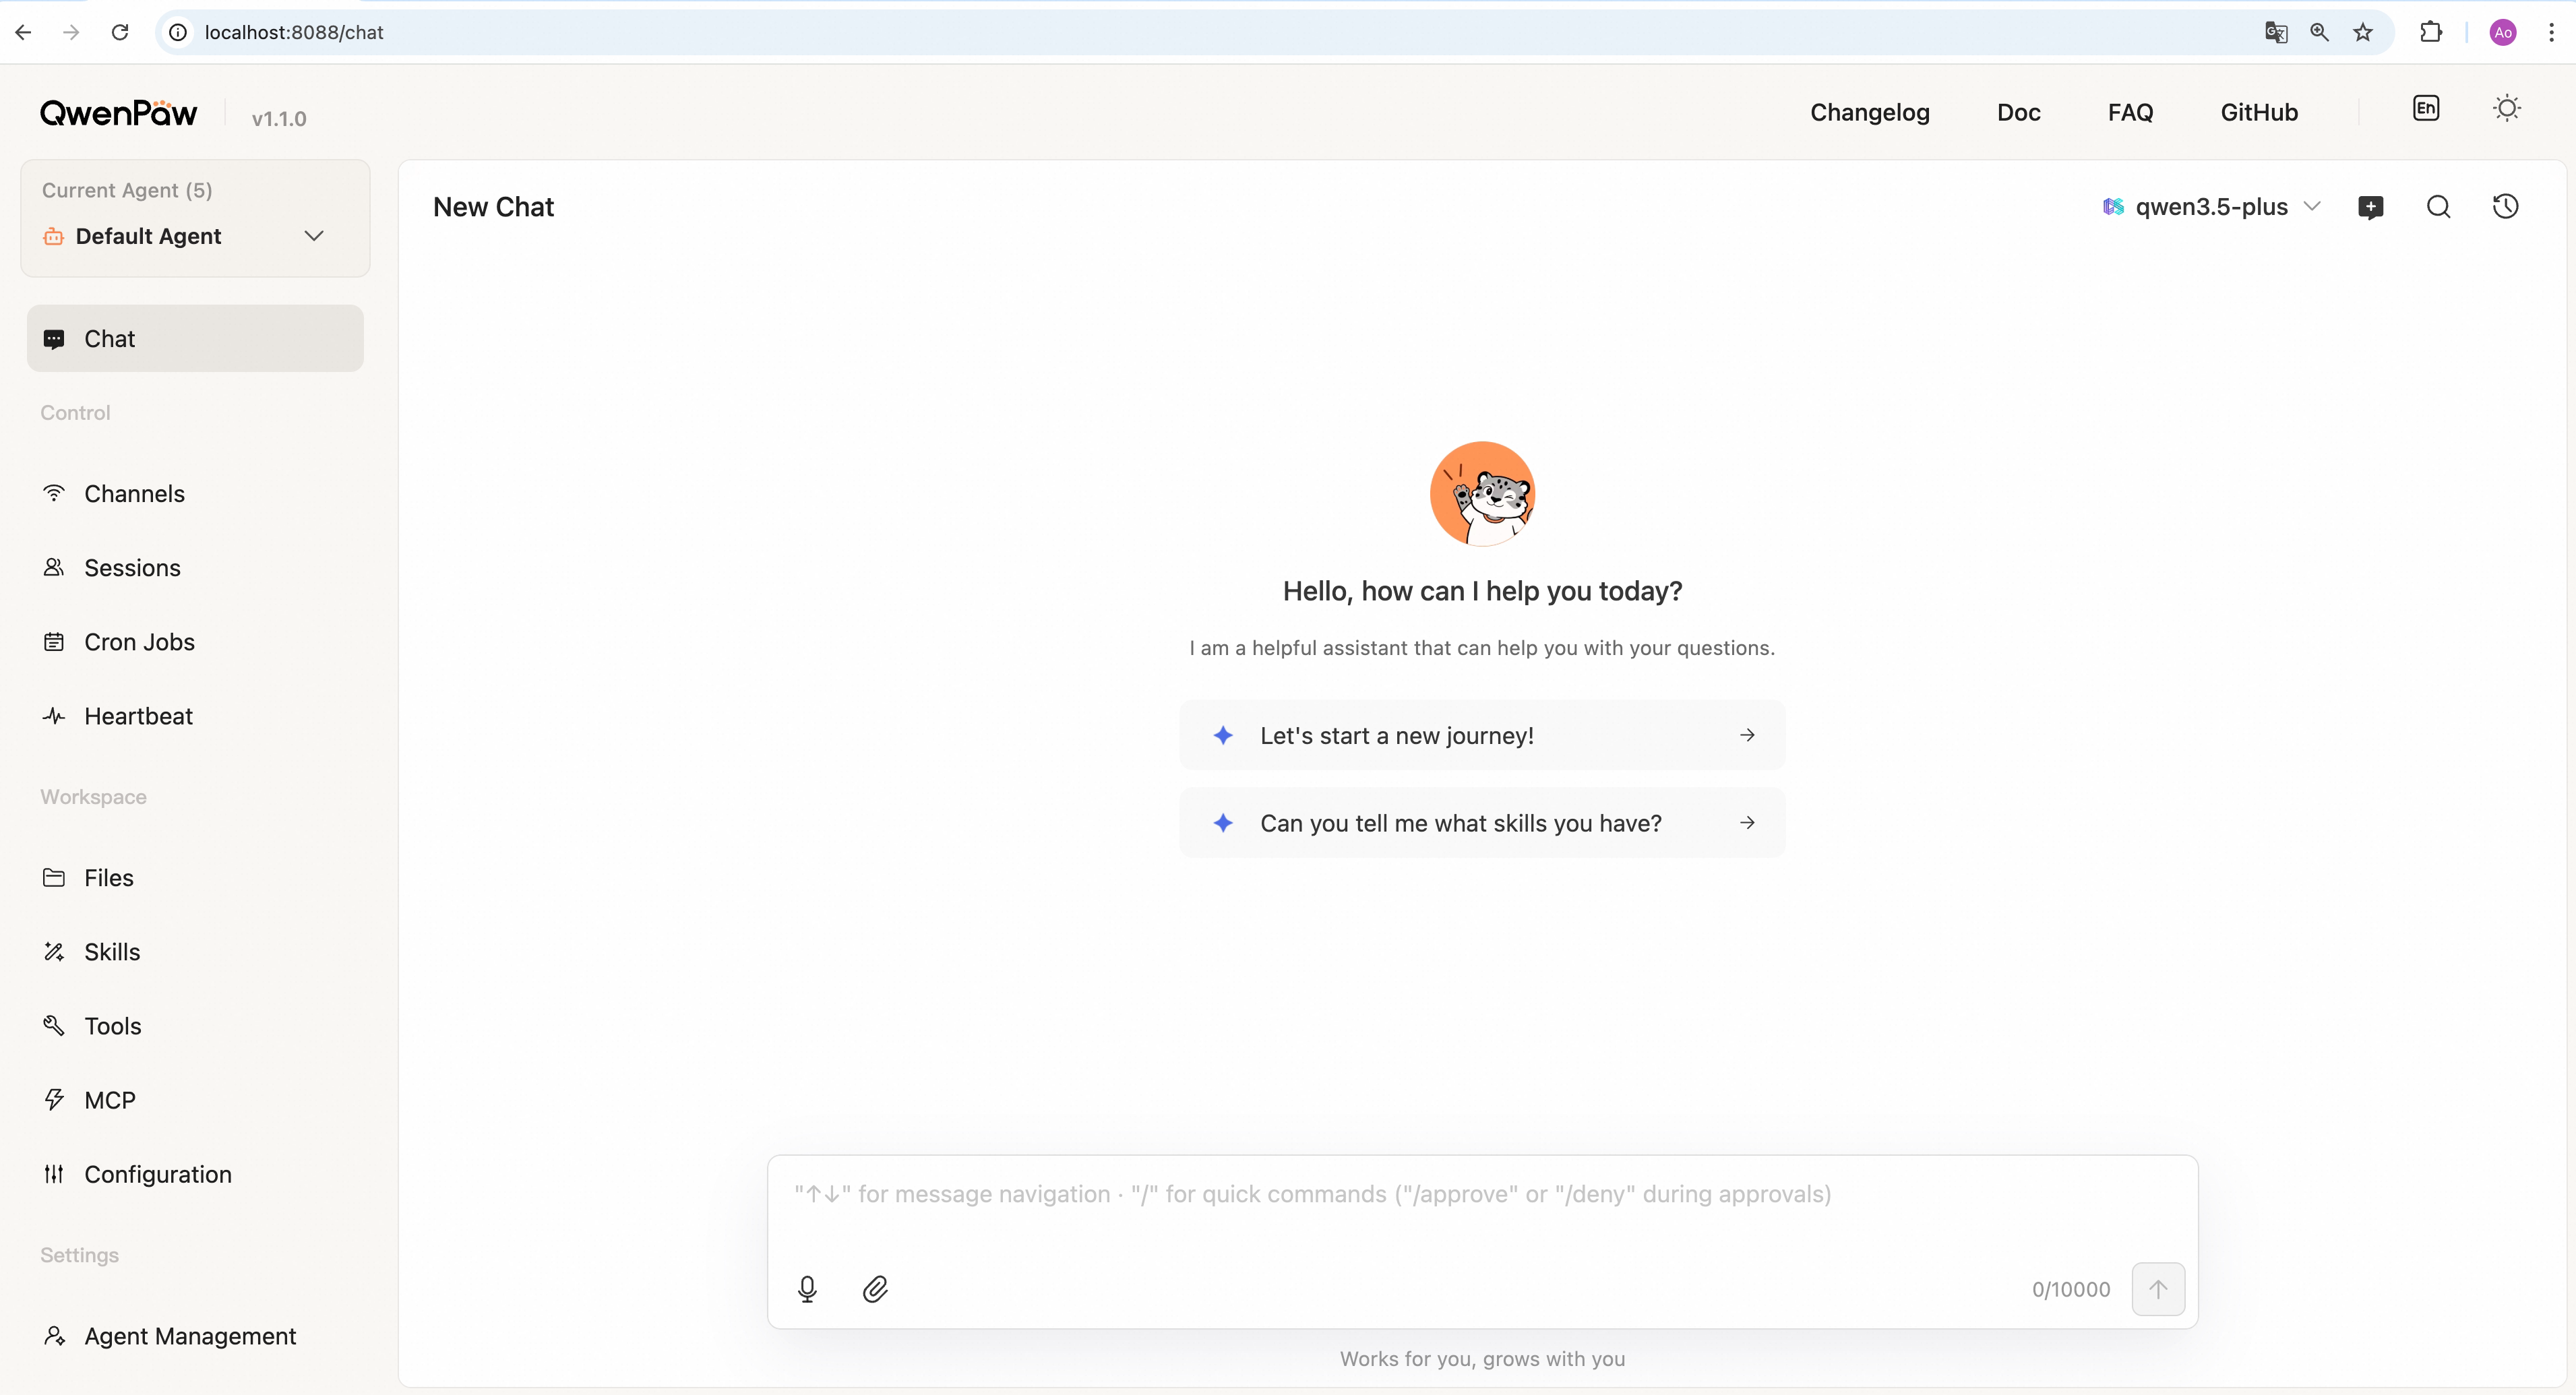
- Ready-made Terminal UI and web console. For those who love interfaces in the style of htop or btop, they developed a full-featured TUI right in the console. For everyone else, there's a web panel on port 80.
- Variety of communication channels. One agent can be connected simultaneously to Telegram, Discord, Lark, DingTalk, WeChat, and iMessage.
Here's what the web console for managing the agent looks like:
Quick Start on Your Local Machine
The easiest way to try out the system is to install it via pip. Requires Python version 3.11 to 3.13.
After that, the web interface opens at http://127.0.0.1:8088/. There you set API keys for cloud providers like OpenAI, Anthropic, or DeepSeek.
If you don't want to pay for API, you can pull in local models. QwenPaw supports Ollama, LM Studio, and its own engine based on llama.cpp. The authors released optimized quantized QwenPaw-Flash models at 2B, 4B, and 9B parameters, tuned for agent tasks.
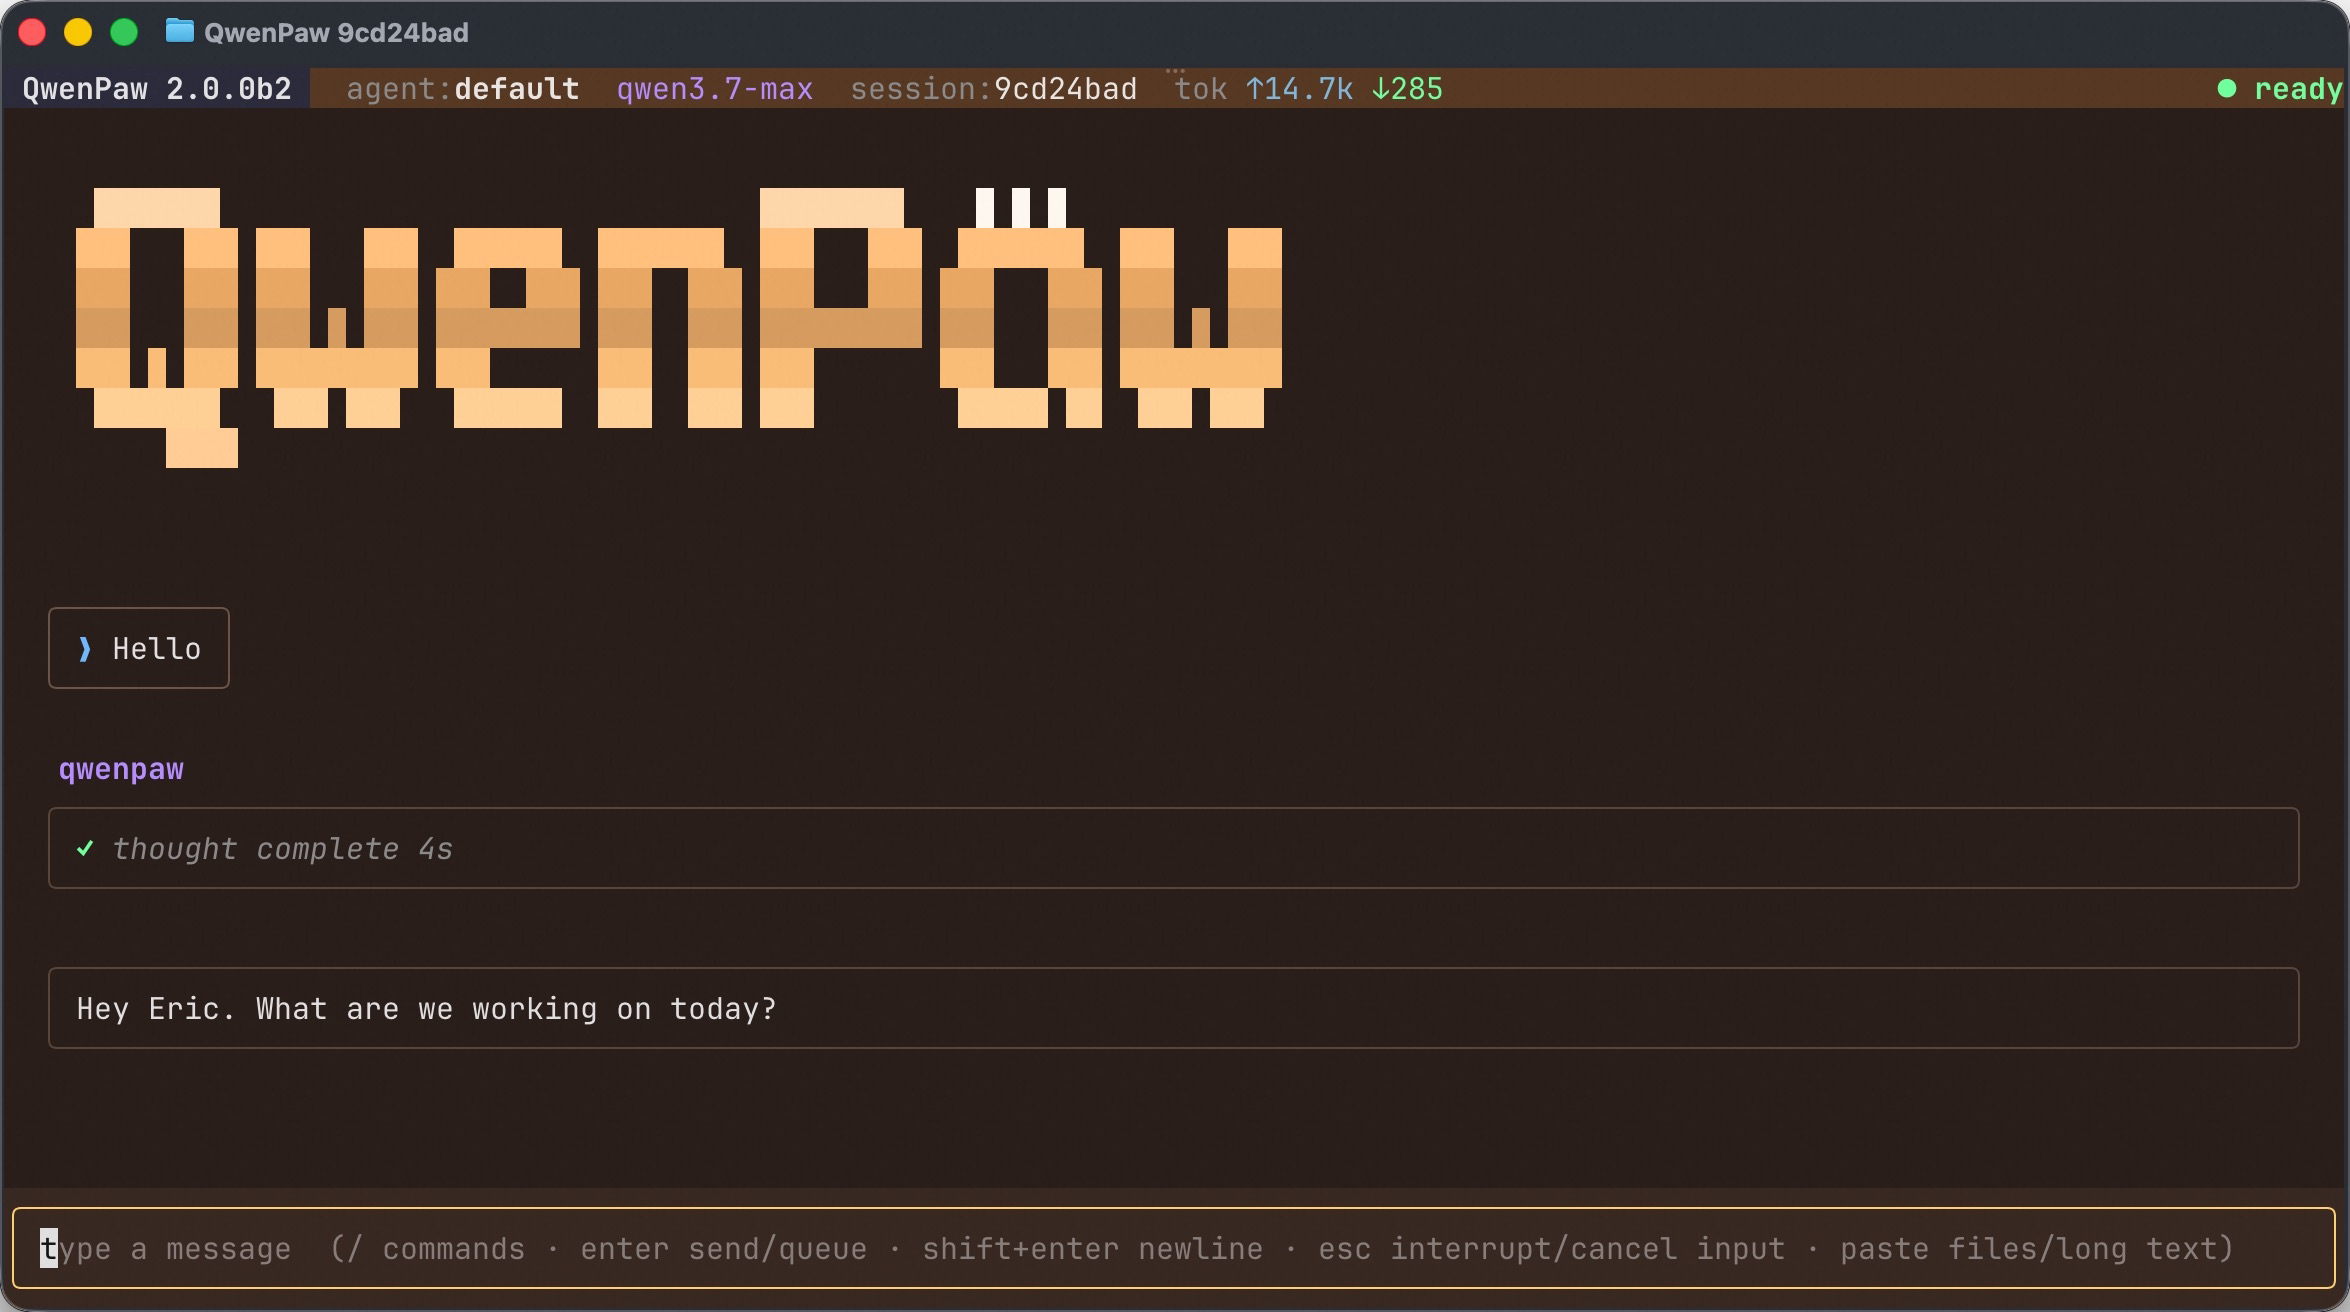
If you're a terminal enthusiast, you can work without a browser:
This command launches a full-screen terminal chat with support for interactive tool calling and response streaming.
Working Mode for Developers
The Coding Mode was particularly impressive. It's a three-panel Web IDE that activates if you run qwenpaw . inside your repository. It has a built-in file tree, diff viewer, jump to function definition, and contextual search through code structure.
The agent reads files in the project, suggests edits, and immediately shows the difference between versions. At the same time, the File Guard security policy blocks access to sensitive directories like ~/.ssh or environment tokens.
Practical Use Cases
Where can this be useful right now?
- On-call and alert automation. You configure Cron inside QwenPaw, connect web scraping plugins, and send daily summaries to the team chat on Telegram or Discord.
- Secure local document processing. Due to the absence of mandatory data sending to the cloud, you can unleash the agent on a batch of PDFs or text reports without the risk of leakage.
- Background developer assistant. In TUI mode, the agent sees your current repository, can run tests in a sandbox, and help with refactoring.
Who Should Give It a Try
If you need an autonomous AI assistant that can execute scheduled tasks, remembers context from a week ago, and doesn't require deploying heavy infrastructure, QwenPaw is an excellent choice. The project is actively updated, has close to 30,000 stars on GitHub, and a lively community.
To get started, five minutes is enough: install the package via pip, launch the console, and connect the model source you need.
Related projects